Before you start
- A screenshot or PNG, JPG or WebP design export, up to 20 MB.
- A destination such as a slide, portfolio page or social post.
The workflow
- 01
Choose the story and source image
Use a screenshot that demonstrates a specific result. Remove unrelated browser tabs, private names and distracting context before importing. The screenshot maker does not capture your screen or open a URL. Start with a sufficiently sharp source; exporting at a larger size cannot recreate missing detail.
- 02
Set the output shape
Upload or paste the image into the screenshot maker. Choose Fit screenshot, square, landscape or portrait for the destination. The full image is fitted inside the selected shape rather than cropped. If the source is too tall to read in a slide, prepare a more focused capture first.
- 03
Give the image breathing room
Choose a restrained background and adjust padding until the screenshot reads clearly. Use corners and shadow consistently across a series. A browser frame can help explain that the image shows a website, but it is decorative and does not prove the page is live.
- 04
Inspect readability at the final size
Check labels, dates and small text at the size people will actually see. A beautiful frame around unreadable UI does not communicate the result. For a portfolio sequence, keep the same output shape and treatment so the viewer can concentrate on changes in the work.
- 05
Export or ask for feedback
Download a PNG or copy the image where clipboard support permits. If you need comments, create a private review copy and share its invitation. Download the result before leaving the editor because local edits are temporary. A review snapshot may be compressed compared with the full exported PNG.
WORKED EXAMPLE
A workshop page in a pitch deck
Use the supplied workshop screenshot, choose landscape, add modest padding and a quiet background.
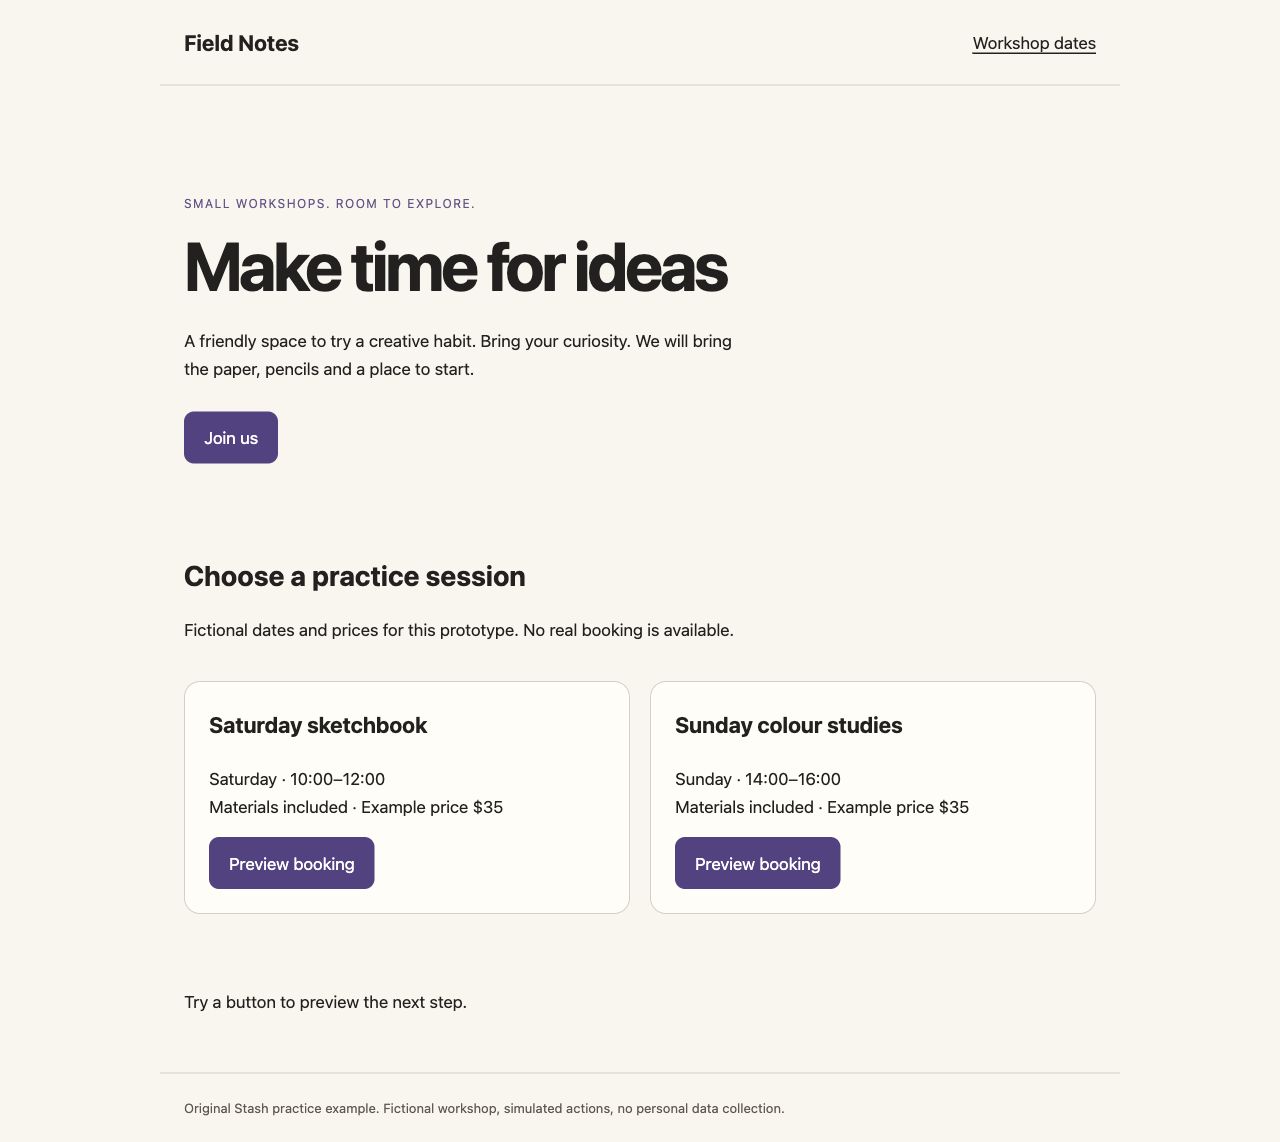
Starting point
A full desktop capture includes tabs and a large empty margin, making the booking section hard to read.
A clearer result
A focused screenshot is framed consistently with the rest of the deck, with enough room to distinguish the page from the slide background.
Check the result
- The booking message is legible at slide size.
- Private or unrelated UI is absent.
- The exported image retains the complete intended screenshot.
Original practice files
Fictional examples made for these guides. Download them to try the workflow with your own tools.
A prompt you can use
Replace the bracketed fields with your project details. Check what the AI can access before requesting changes.
Write a one-sentence caption for this screenshot. Context: [what the project does]. Audience: [who will see it]. The visible result is [result]. Explain that result clearly without inventing customer outcomes, launch status or performance metrics.Download the brief, prompt and checklist ↓
Questions & answers
How do I make screenshots ready for a portfolio, pitch or social post?
Use a focused source image, choose an output shape, add consistent padding and a restrained background, then check readability at the final size. Export a PNG or share a review copy.
Can I export without a watermark?
Yes. The screenshot maker offers PNG download without a watermark, at 1200, 2400 or 4096 pixels on the longest side. A small source image may look softer when enlarged.
Does the browser frame open or capture a website?
No. It is a decorative presentation frame around the uploaded screenshot. Capture the website separately before importing the image.
What stays local and what is uploaded?
Importing, styling, copying and downloading happen in your browser. Creating a review link uploads a compressed, flattened presentation. Save the output before leaving the editor.
Keep in mind
- This is image presentation, not screen recording or website capture.
Put it into practice.
Start with the example or bring a small project of your own.
Style a screenshot ↗